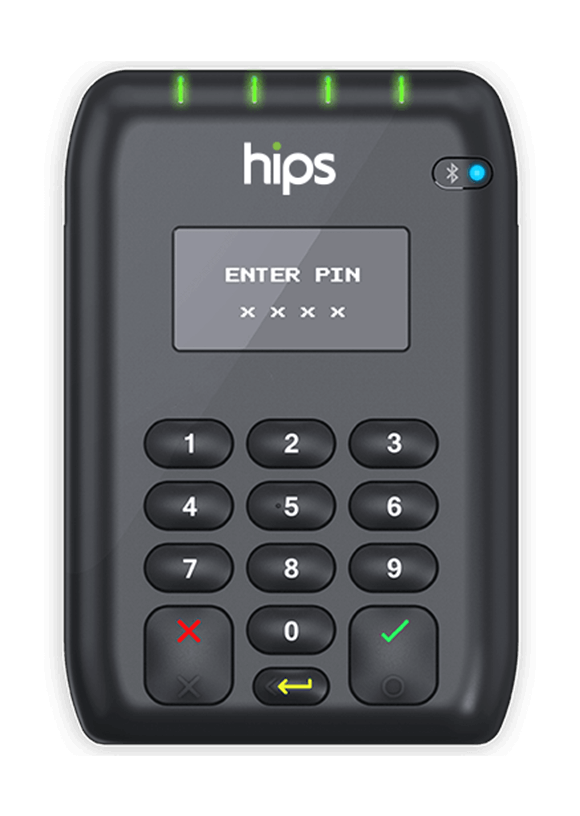
Miura M010 Test Card Reader Update & Configuration

Do not proceed with this guide on production units!Please check the sticker on the back of your terminal. If the model name contain PROD (M020-PRODxx-xx-x) do not continue with this guide since its is for test units only! There is no requirements to load production units since they are factory loaded with Hips application.
For DEVELOPMENT / TEST Card Readers only!This is only required for TEST Card Readers, since there are issues with Miura OS V7-5 that prevent us from updating automatically.
Once you order LIVE Card Readers, we will make sure they ship with the latest OS and MPI and - if required - USB Serial Mode enabled by default.
Important: PTS 5 or PTS 3 terminal?
Before you start, you need to know if you have the PTS5 or PTS3 version of the Miura M010 terminal. The guide below is for the PTS5 version.
How do I know if I have PTS3 hardware?
Serial prefix | Hardware Version | Action |
|---|---|---|
010-XXXXXX | Miura M010 PTS 3 Production unit | ⛔️ Production device, do not load this device with the software in this guide! |
011-XXXXXX | Miura M010 PTS 3 Test unit | ✅ Load PTS 3 files |
510-XXXXXX | Miura M010 PTS 5 Test unit | ✅ Follow the guide |
050-XXXXXX | Miura M010 PTS 5 Test unit | ✅ Follow the guide |
511-XXXXXX | Miura M010 PTS 5 Production unit | ⛔️ Production device, do not load this device with the software in this guide! |
051-XXXXXX | Miura M010 PTS 5 Production unit | ⛔️ Production device, do not load this device with the software in this guide! |
Installing Hips Software, OS and MPI to the Miura reader (developer/test)
Do not unzip or extract any files before uploading them to the Miura device. The Miura device expects an archive!
- First download this file M000-TESTOS-V9-3.tar.gz containing the Miura OS for PTS 5 devices. If you are on a PTS 3 device, then download M000-TESTOS-V7-16.tar.gz
- Then download this file M000-TESTOSUPDATE-V1-8.tar.gz containing the Updater Script for the Miura OS.
Install the OS
- Connect M010 to the PC/MAC with USB. A new drive called "MIURA" should appear as a USB device.
- Copy the two files M000-TESTOS-V9-3.tar.gz and M000-TESTOSUPDATE-V1-8.tar.gz to the "MIURA" drive (M000-TESTOS-V7-16.tar.gz and M000-TESTOSUPDATE-V1-8.tar.gz if you are on a PTS 3 device).
- Eject the "MIURA" drive and disconnect the USB cable.
- Wait for around 10 seconds, then the Card Reader will update itself to OS V9-3.
- Wait until the terminal boots back up before you continue to "Install the MPI"
Download the MPI & Config
- Download this file M000-TESTMPI-V1-58.tar.gz containing the Miura MPI.
- Then download this file M000-TESTMPI-Vx-x-CONF00-V7.tar.gz containing the Configuration for the Miura MPI.
Install the MPI
- Connect M010 to the PC/MAC with USB. A new drive called "MIURA" should appear as a USB device..
- Copy the two files M000-TESTMPI-V1-58.tar.gz and M000-TESTMPI-Vx-x-CONF00-V7.tar.gz to the "MIURA" drive.
- Eject the "MIURA" drive and disconnect the USB cable.
- Wait for around 10 seconds, then the Card Reader will update itself to MPI V1-58.
Ready for app development.
- Now you have prepared your Miura device for app development. Download Hips demo app and SDK for iOS or SDK and demo app for Android.
- Profit
💳 In need of test cards?Please order your test cards in Hips Webshop
Post setup instructions
- Now you need to activate the terminal in the SDK / Hips Merchant App
- Then go into Hips Merchant App or SDK and choose "Inject Keys" to remote inject the DUKPT keys.
- Lastly you need to make sure the terminal is up to date by clicking "Check updates" in the SDK UI or in Hips Merchant App.
Updated 8 months ago
